| Well, hello there! Yes, it's been a while. Even though it's been quiet on here, I've been busily working away on projects. This is one of my favorites. We are expecting a little niece this Fall, and her mom loves the colors orange and turquoise. I used my favorite Chevron pattern and made a little baby blanket. I love this pattern because it's really fast and so very simple...no triangles! Click on this link for a larger chevron quilt using lime, black and white (this post also explains how the quilt is made). Here's another link for a yellow and grey baby chevron quilt. ~~~ So now for a little explanation of where I've been! I have just started my dream job! Our local quilt store contacted me to see if I'd like to take over their on-line marketing...Facebook, Blog, and two newsletters. After a couple of weeks, the owner asked if I'd like to work in the store. Of course, I said yes!! It's quite possibly the perfect job for me...I still get to be home with the kids are home, I get to be creative every day (and just have to sew more at home!), and I get to write about sewing. Sounds good, eh? If you'd like to see what I've been working on, please check out Quilt Expressions' blog. I'll be writing about patterns, new lines of fabric, trying out new products (or new to me, at least!), giving helpful hints/tips that I pick up, and I'll also be posting about some of my current projects that you won't see on here. If you like what you see, please input your email on the top right of the blog and follow us...you'll get an email when a new post is ready to read! Feel free to check us out on Facebook, too. Happy Sewing! ~~~ Shared with: Sew Woodsy |
Showing posts with label Fabric. Show all posts
Showing posts with label Fabric. Show all posts
Tuesday, August 6, 2013
Orange and Turquoise Chevron Baby Quilt
Monday, July 8, 2013
Handquilted eBay Find to Picnic Quilt
 |
| Near the end of the school year, I received an e-mail from a friend. She explained that she'd bought a hand-stitched "funky" quilt top off of eBay and wanted to know if I could quilt it into a picnic blanket for her family to use. I wasn't sure what to expect when the box arrived. |
 |
| There's a book series that I love to read. The series is called Elm Creek Quilts, and the books are written by Jennifer Chiaverini. The books range from current time back to the Civil War. They are fiction, but the quilt history included in the story line is amazing. When I received this quilt top and looked at the back of it, I remembered some of the history in the books....how ladies used to save every single piece of fabric that was left over after they made their clothing, their curtains, feed bags, etc....how they didn't have a "stash"...how they would gather at one house, set up the quilting frame and work together on one quilt, by hand. Someone spent hours, days, stitching this quilt top. The fabrics are different colors, different textures. As I worked on it, I wondered what each piece of fabric had also become for this quilter. Was this a shirt? A dress? A curtain for her home? I have such respect for those that hand sew, either by necessity or choice. I have a small hand-stitched piece that I work on here and there. It will one day be the only quilted piece that I've ever made entirely by hand; but it'll be a long time before it's completed. It takes time, patience, a good set of eyes, maybe even a massage or two. For just a moment, I considered completing the quilting by hand.... and then I thought of the many, many wavy lines I intended to make back and forth across the quilt and pulled out my machine. |
 |
| Here we go! |
 |
| Oh...my...goodness. Do you see that little spot there where the entire quilt is stuffed? This is the biggest quilt I've quilted on my machine, and I believe I've discovered it's limit! The good thing is that I was able to combine sewing with quite the arm workout! |
 |
| 6,336 inches (or 528 feet) of stitching...and it's finished! |
 |
| I often go to quilt shows with my mom, and we marvel at the quilts that we see there. But, when I get close, for me the best part is the quilting. Even if it's just a bunch of wavy lines, it adds such character, such depth to the quilt. With the quilting, the backing and the binding, it doesn't look so "funky" any more. It looks like a quilt that will be pulled out over and over for family picnics, that will be washed many times, that will follow three little boys from picnics, to soccer games, to the beach, to wherever they may go. |

From Nursing Cover to Pillow Cover and...
 |
| A friend of mine has three adorable boys, and she has used the same nursing cover for all of them. Imagine the hours she spent snuggled up with her little ones under the cover. She wanted to keep her nursing cover, but she didn't want to just toss it in a box...never to be looked at again. She asked me to use the material to make a pillow cover ... something she could use, see often and still be able to keep all of those good memories. The photo above is the pillow cover I made her...I used the envelope cover design. Super simple and not a lot of waste. The backing is some thinner denim I had in my stash. However, I had fabric left over so.... |
 |
| ....I made another pillow cover. This one is the same design, same backing, but with a different front. I found some cream muslin in my stash, cut 9 squares out of the cover and sewed down each side of the squares with a 1/4" seam (kinda like a grid). The edges are raw and will fray nicely the first time she washes it. I had a small strip of fabric left over after cutting the squares for pillow number two, so.... |
 |
| ....I made her a fabric bookmark. Super simple, not perfect, very scrappy. I made a yo-yo flower out of a tiny scrap and added an antique button (that I stole) from my daughter's button collection. After these three projects, I STILL had fabric left over. |
 |
| I made an apron out of the cream muslin, left over denim for the ties and used the cover material for the pockets. I also made a removable finger tip towel. |
 |
| The cover hooked around her neck with a "d" ring, so I attached that to the apron to hook the towel. The strap on the towel came from the neck strap on the cover. |


 |
| I also removed the label from the nursing cover and hand sewed it on the back of one of the pillows. |
 |
| This is all that's left of the nursing cover! ~~~ I always enjoy my sewing jobs, but this one was especially fun. It was quite the adventure trying to figure out what else I could make from the fabric scraps that remained each time. |
Saturday, July 6, 2013
Lime Green, Black and White Chevron Quilt
 |
| When I saw this line of fabric, I fell in love with it! No, it matches absolutely nothing in my house. No, it's nowhere near my favorite color. But, oh my, I'm loving this combo! |
 |
| This is my second zig-zag (or chevron) quilt using this method. I've always been intimidated by the chevron method using triangles. I came across this technique using 3" strips (I use 2.5" strips if I'm making a baby quilt). Sew a strip of each together and then cut into squares. Lay them alternating direction and they create a zig-zag pattern. |


 |
| Click here for a baby-sized grey and yellow chevron quilt. |
Sunday, June 30, 2013
Glamping Half Apron
 |
| I've got a friend who loves to camp with her family, and she's got a lot of style. I came across the Glamping (Glamour + Camping) line of fabric by Moda and knew it was perfect for her! |
 |
| This half apron goes together so quickly...love that it's edges are finished with double fold bias tape. |
 |
| The pattern called for a fabric front yoke but ribbon ties. I've never been a fan of ribbon ties, so I just bought double the amount of fabric called for and made fabric ties. |

 |
| {love} this line...red and turquoise! ~~~ Pattern: Keep Clean and Stay Cool Apron from "All Sewn Up" by Chloe Owens Fabric: Glamping by Moda |
Grag Bag
 |
| This is a fun one! Well, up to the very last step, anyway. The pattern is from my new favorite magazine: "Make It Yourself" by Better Homes and Garden This is their second issue and they are released seasonally. Both issues to date have been packed with fun projects...sewing, knitting, cross stitch, paper...just a little bit of everything. |
 |
| What makes this purse difficult is finishing the handles. The front and the back are each just one piece, which includes the handles. It's a little tricky getting the very last inch or two of the handles sewn. The bag, though, is so versatile. |

 |
| One handle is longer than the other and slips through the loop made by the shorter handle. It's perfect for hanging and for looping over your wrist. This one has become the bag I use for church...perfect size for a Bible and hymn book. Inside, there are three shallow pockets on each side of the lining...perfect for gum, Kleenex packets, cell phone, etc. ~~~ Pattern: Grab Bags from Spring/Summer 2013 issue of Make It Yourself Fabric: Hobby Lobby |
Thursday, June 27, 2013
Black/White/Yellow Sling Bag
 |
| Once upon a time, there was a sling bag...the perfect size, the perfect color, just the right amount of pockets. One day.... |
 |
| ...it met a big, red, flower. And then it was perfect! ~~~ Pattern: Mail Sack from Pink Chalk Studios (mini 12" x 12") Fabric: Comma by Moda |
Monday, January 21, 2013
{Fall Quilt Retreat: Finished Project #2}
 |
| {My set of little helping hands} |


 |
| {Washed and Crinkly} My mom and I went on a fabulous quilt retreat last October. You can read more about it here, here, and (one more time!) here. I've been slowing working on finishing my projects that I started there. I love this particular quilt top...it's probably my favorite project from the retreat. However, it's been sitting as I've tried to figure out how to quilt it. We've been to many quilt shows and seen some amazing quilting designs. However, all of my quilting must be done on my little machine and, honestly, it has to be simple. If it's not, the project will probably continue to sit, gathering dust. I was a bit intimidated by the amazing quilting I've seen over the past couple of years. One day last week, I finally decided to just get it done. My favorite way of quilting is strip quilting...sometimes using masking tape for straight lines and even strips and sometimes with random widths and not-so-straight lines. Since I enjoy it so much and have always loved the final results, I figured it might just work out. {I love it!} I love the texture (I always wash the fabric after it's complete, not before). I love the design. I love the simplicity. I love that it took my such a short amount of time. I love that it can be either a sweet little baby girl quilt, or I can add a sleeve and it can be a wall-hanging. I love that it's purple! I love that it's completed! {And I love that my pair of sweet little helping hands had a sick day so both of us were able to stay home and craft.} {Pattern is from the book: Three Times the Charm} |
Sunday, April 29, 2012
Wood, Fabric, Paper
 |
| I normally try to post after each project, but I've had way too much fun this week to take the time! I love that I can work on paper projects, projects that involve wood and paint, and sewing projects ~ all in the same week! ~~~ This card is for a new baby girl. |
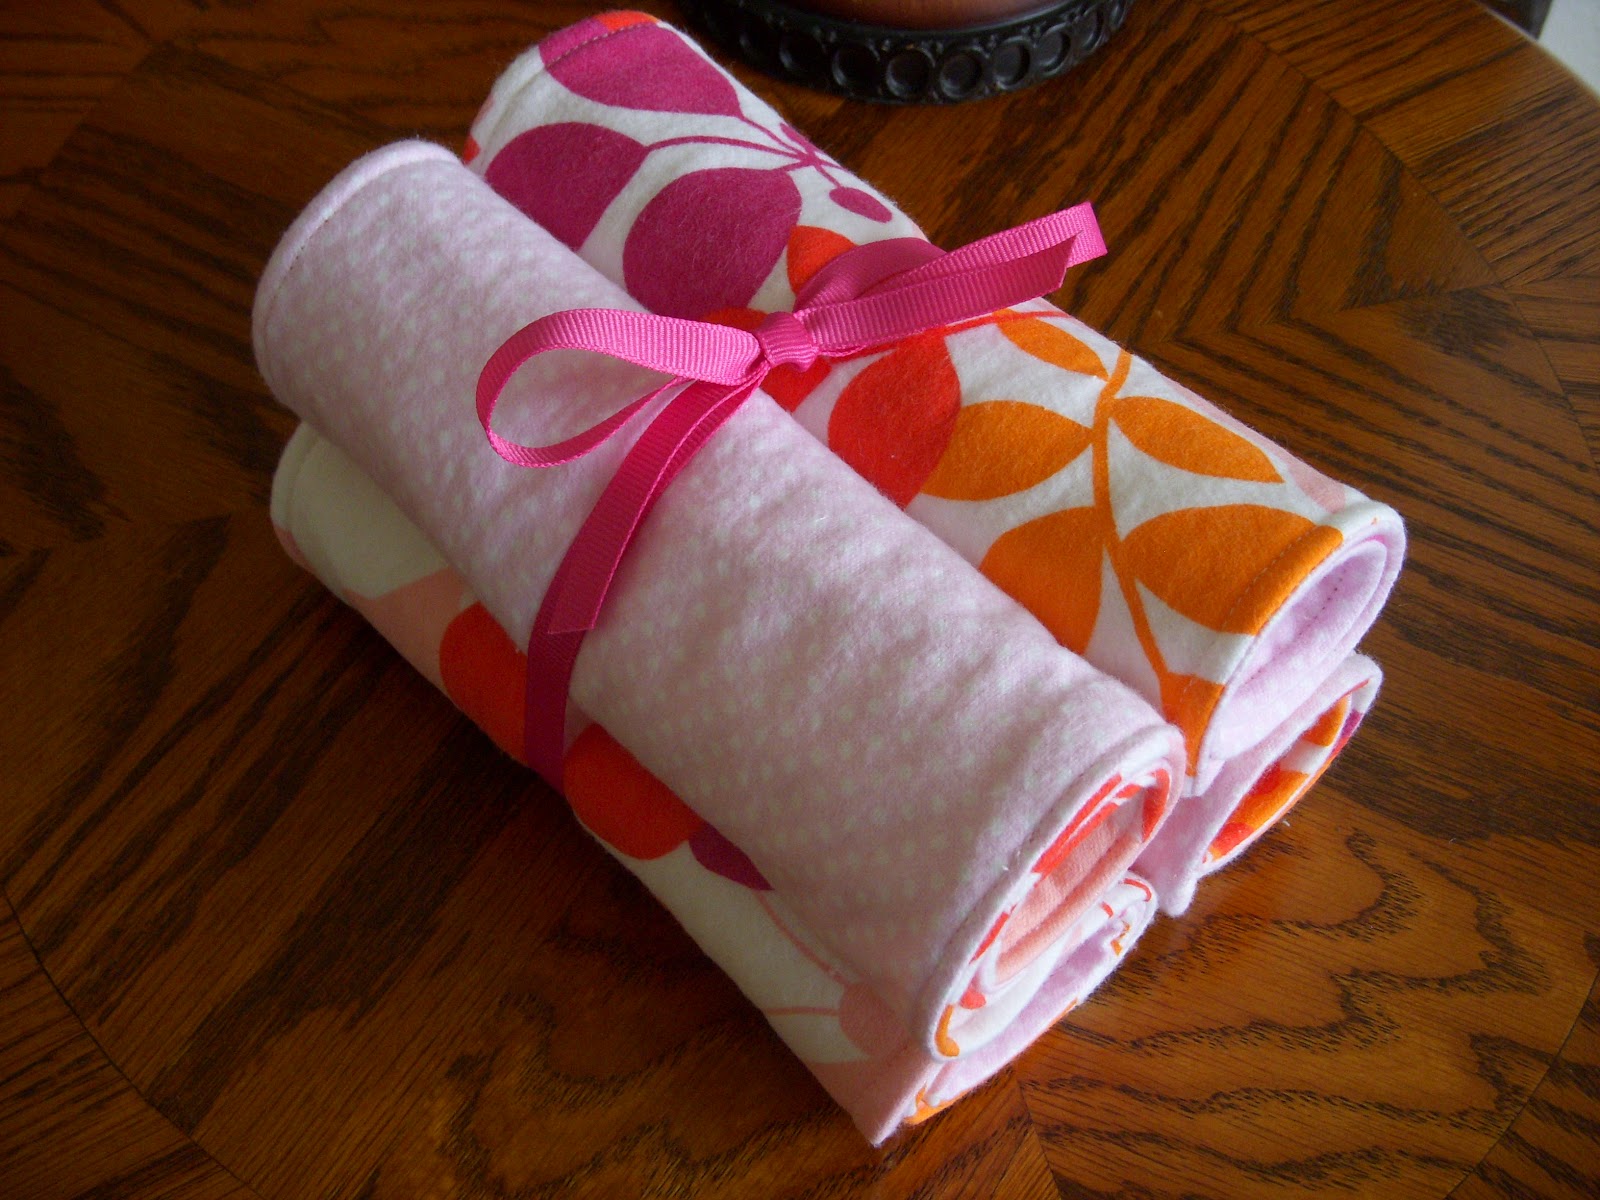 |
| My favorite pattern for burp clothes ~ they fit so nicely on your shoulder and are made with soft flannel and have a layer of fusible fleece inside. |

 |
| ...and a taggie. |
 |
| We can't forget the boys! I love this frog flannel ~ so cute! |

 |
| ...and a frog shaped taggie. |
 |
| One of my kids' teachers has a grocery bag hanging in her coat closet that it stuffed with more bags ~ those first graders often forget their backpacks and need a bag to take things home. Before I headed in to the school to volunteer this past week, I decided to make her a bag holder. This project took 21 minutes ~ starting with picking the fabric to adding the hanging tab! Every once in a while, it's fun to have a fast, easy project. |
 |
| I love owls! On a quilt shopping trip last year, we happened upon a scrapbook store. They had a set of three plain wooden owls for sale. I simply could not leave them there in the store! They now live in our home ~ here. My husband made me some more owls using the same pattern. This little one is for a friend's daughter's room. She is also a big fan of owls. |
 |
 |
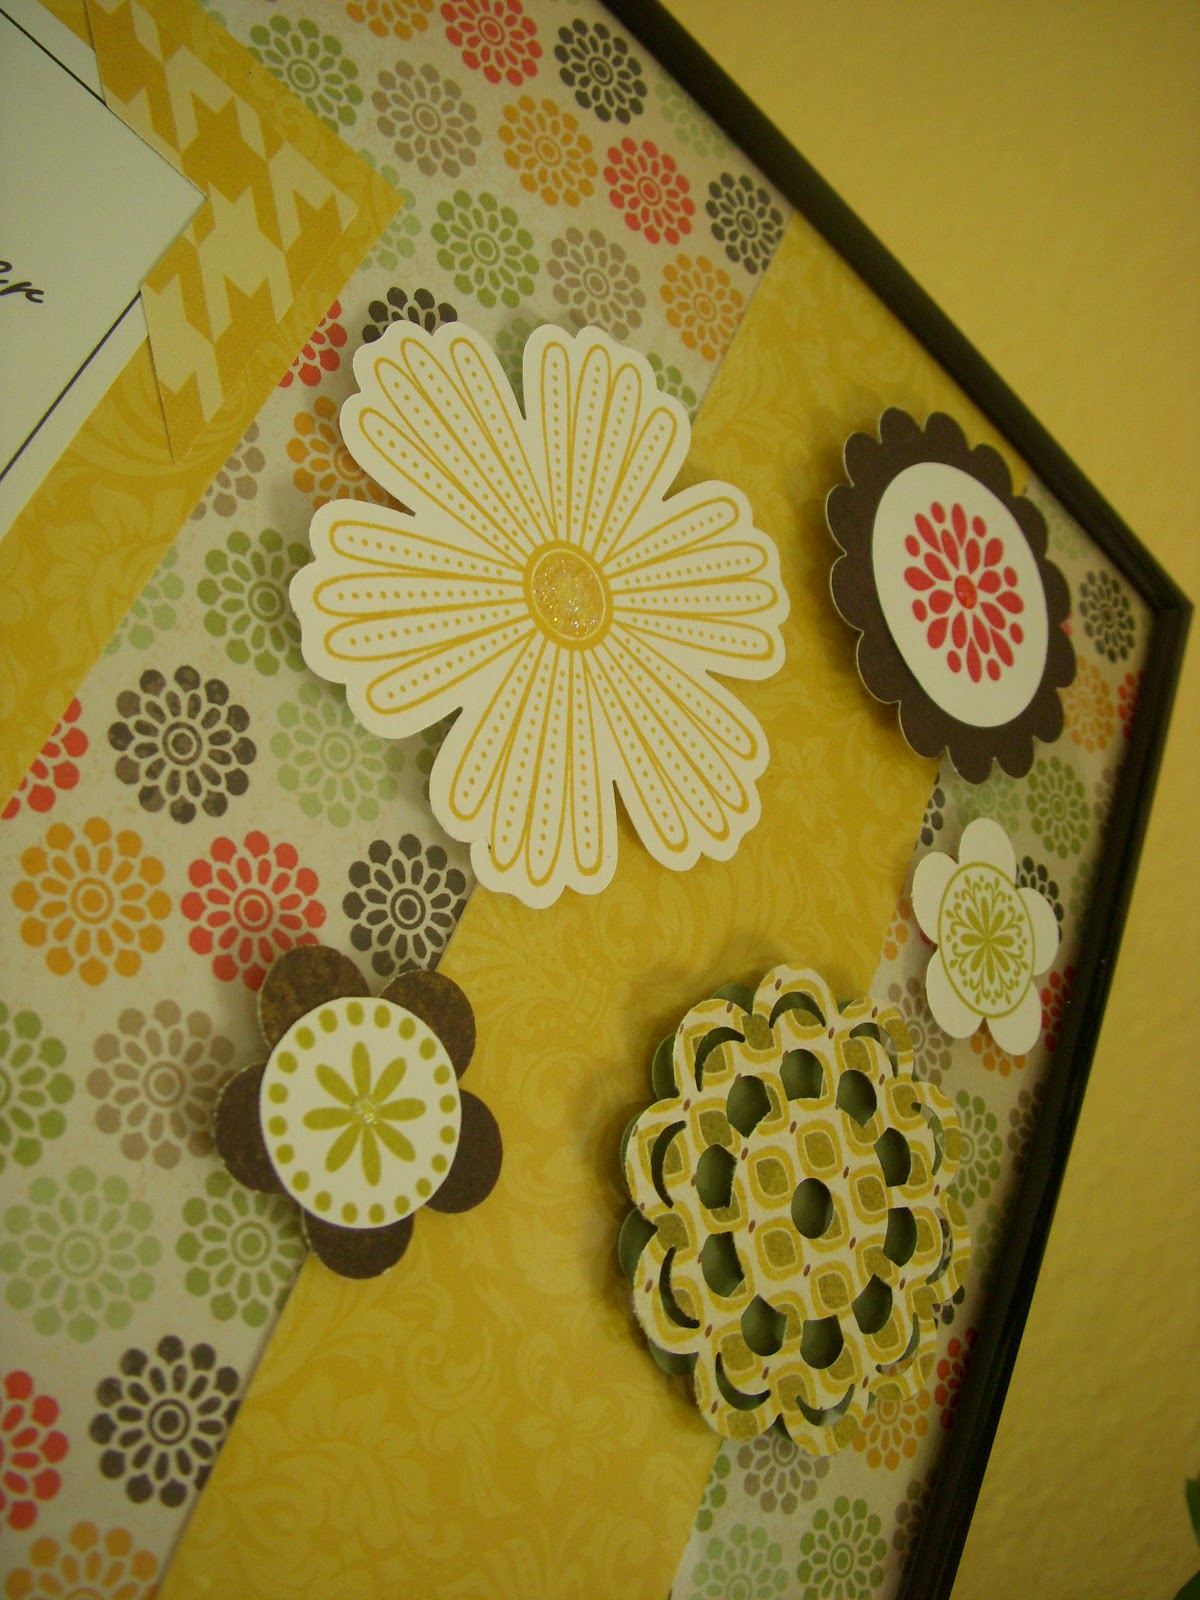
| My big project this week was for another teacher at the kids' school. She is having a bridal shower for a friend, and they are expecting quite a few guests. She wanted a way to ensure that the guests would mingle and chat with each other. Last year, I made the frame (above) with our meal graces. It's on scrapbook paper, and some of the sunflowers are on the outside of the glass. Theresa collected 30 questions about the bride ~ "Would Abby rather drink red wine or white wine?"~ and divided the questions onto five cards. We picked out coordinating background paper and a yellow print that matched all of them. Then I went to work ~ patterning this project after the framed graces I have at home. |
 |
| Frame One |
 |
 |
 |
| Frame Two |
 |
 |
| Frame Three |
 |
 |
| Frame Four |
 |
 |
| Frame Five |
 |
| The five frames will be scattered about the room. Each guest will receive an answer card... |

 |
| The answer cards are double-sided, mounted on coordinating cardstock, and have flowers and vines heat-embossed on the top of each side. ~~~ It's been a busy week ~ but most definately a fun one! Teacher appreciation week is coming up, so look for some new projects directed towards teachers. I will also be completing a blue and orange quilt (for those fans in Idaho...a BSU quilt without a single bronco head or logo), some kids notebook holders and a bag or two. ~~~ Shared with: Polkadot-Pretties Mommy by day ~ Crafter by night |
Subscribe to:
Posts (Atom)